Building a Page List
The key to a well-built ebook is undoubtedly good navigation. A page list is one piece of that puzzle, but a particularly important one. In essence, it is a print-corollary listing of all the pages in the print edition that adds an extra level of navigation for readers. It’s most clearly visible in Adobe Digital Editions. Different reading systems use this information in unique ways.

This screenshot shows a book opened in Adobe Digital Editions. Along the side, there are three levels of navigation — the Table of Contents, the Landmarks, and the Pagelist. When a reader clicks on page 21, for example, the reading system will jump to the start of page 21. In this way, a variety of readers using different formats can literally be on the same page. This is particularly important in an educational context, but also for book clubs and other use cases. And it is extremely important for the print-disabled reading experience because it's another nice level of navigation. Important note: if you want to have your books or your workflow certified accessible, you must have a page list in your ebook(s).
I use PageStaker to make page lists, a process that I will demonstrate here. The first step is to download the script via the button above and load it into the scripts subfolder for your system. (See screenshot below.)

From within InDesign, open the scripts palette, and double-click PageStaker.jsx. (See screenshot below.)
An orange caret now appears at each the start of a page break. That caret is connected to a unique character style called com.rorohiko.pagestaker.style. Rorohiko is the name of the company that developed the script. The style is 0.1 points with a strikethrough — small enough not to cause any reflow, but with an actionable style sheet onto which the correct code can be layered in the ebook. (See screenshot below.)

It's actually a piece of Conditional Text. When activated in the Conditional Text palette, it becomes live in the file and the orange caret disappears. (See screenshot below.)
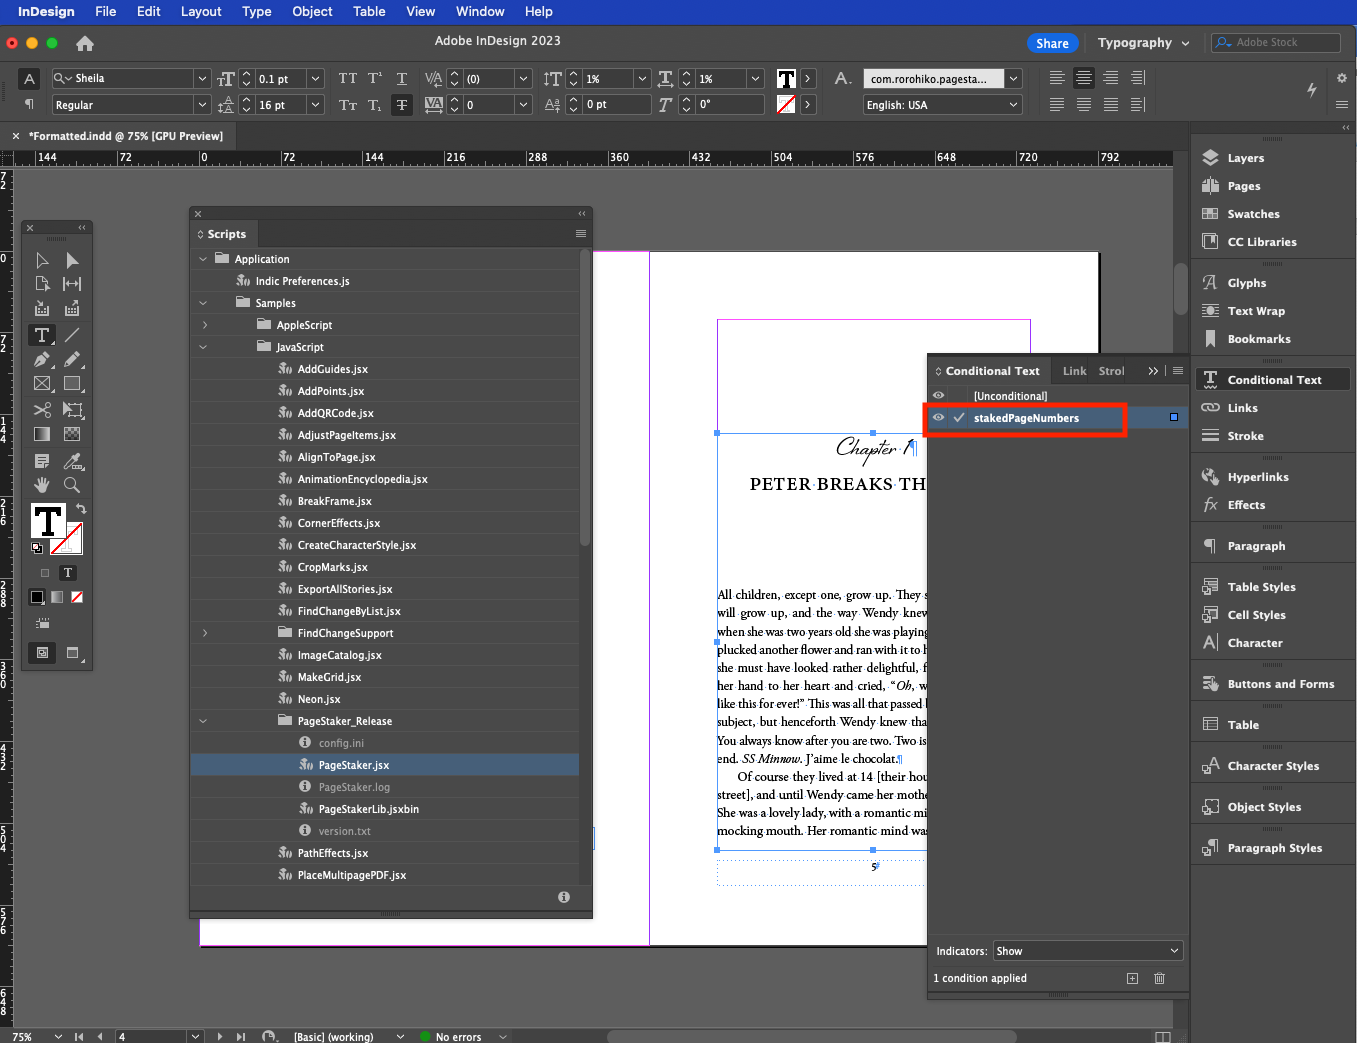
Once ready to export this to EPUB, be sure to toggle on the conditional text by activating the eyeball, and the export will have those page numbers in the text right at the spot of the page break.
The next step of the process used to be taken care of by a second script called EPUBOgrify but Apple stopped supporting PHP so it stopped working. Here is my workaround:
Don’t split the HTML up on export from InDesign. Let InDesign create one, potentially very large HTML file.
Clean up the HTML per usual. It’s important to get rid of the character-level overrides as these will get in the way of converting your page stakes into page number. When I create an ebook from InDesign, I generally do all the cleanup now: moving language declarations, deleting all overrides (paragraph, character, object, table and cell style overrides), migrate to meaningful HTML 5 from generic HTML, etc.
Create the correct code for the page breaks. This RegEx string works in oXygen XML editor:
<span class="com-rorohiko-pagestaker-style">(\d+?)</span>
<span epub:type="pagebreak" role="doc-pagebreak" id="page$1" aria-label=" Page $1\. " />
Add a pagelist to the navigation document. I have one on standby that I use; download link below.

Adapt this pagelist to your content. Replace Book.xhtml to the name of your single HTML file holding all the pages in your book. Add prelims with roman numerals, adjust the length of the pagelist, etc.
Run your EPUB through EPUB-Checker to make sure that your EPUB is sound. When you are error free, open your ebook in Sigil Ebook Editor.
This next step is where the wizardry happens. Open up the HTML file and insert page breaks by positioning your cursor where you want the page break and clicking the Split at Cursor button. When you insert a page break, Sigil intelligently updates all the internal hyperlinks to the new file: in the OPF, in the navigation documents including the page list, and any internal hyperlinks. Sigil is better than other text editors at this task and that’s partly because is designed only to be an ebook editor and so understands the format a little better than a text editor does.

The idea now is to go through the ebook inserting chapter breaks. This could be accomplished by simply searching for “<h1” if those are the tags at which you would insert a page break.
Pro tip: the newly-created chapter will inherit the top-level <section> tag including the semantics. I leverage this regularly to create new chapters that already have the correct ARIA roles applied.

If desired, you can right-click on “Section0001.xhtml” to rename that file to something more intuitive like “Chp1.xhtml.”
I’m tempted to say voilà! as if that was easy. It’s a lot of steps but it is absolutely worth it. This is my hard-fought way of creating a page list. I hope it works for you.